
Keep your Documentation updated with Cypress and Github Actions

10 min read
One of my favorite ways to document projects is by adding screenshots of how it looks, to provide a quick overview of what it does and looks like. Sadly these images are quite easy to get out-dated, and I was being forced to manually update them … In this post, how I automatize this task by using Cypress and GitHub Actions.
My Case in Particular
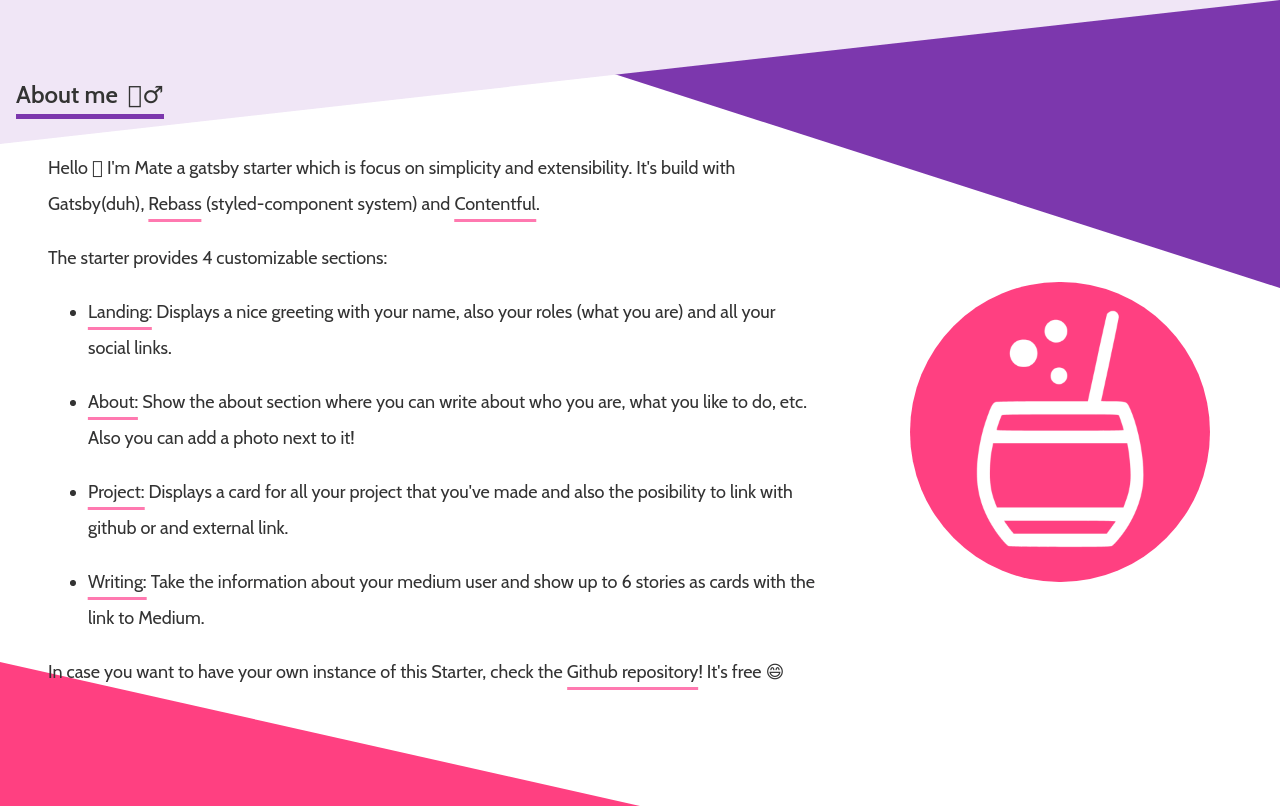
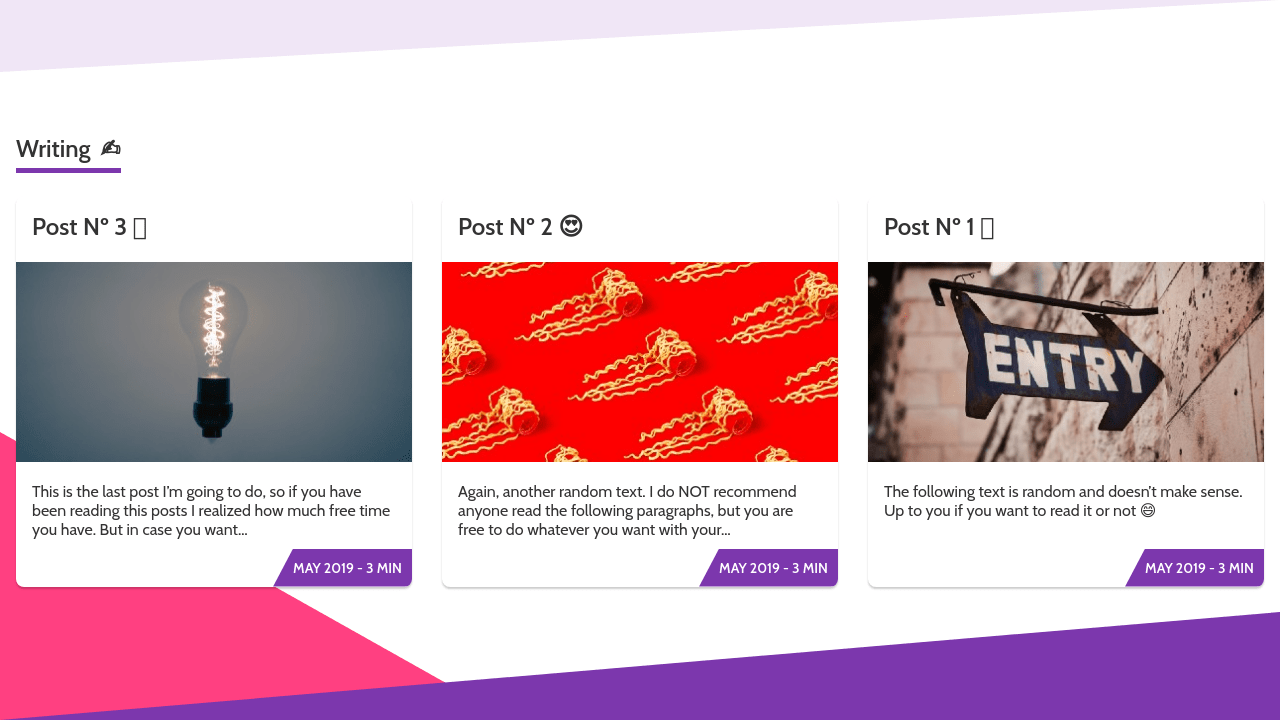
I am the owner and maintainer of the Gatsby Starter Mate, which allows developers or tech writers to bootstrap their portfolio and manage its content with a CMS.
Although one can always open the Demo website and navigate through it to see how the project is, I decided to create a simple Table where I show how each of the sections looks like. Here is the table extracted from the README.md.


As I highlighted at the beginning of this post, in case I made a change in the UI: CSS change, content change, add/remove new components, etc. I had to regenerate these screenshots … The process was as follows:
- Start the development server.
- Open the website in the browser (trying to always use the same window size).
- Take a screenshot and store it in the repository.
- Remove the old image and rename the new with the original name.
Besides the process was not hard to follow, I had to repeat it for each of the sections and in many times I forgot to do it after I made any change … It was time to bring the machines to the play! 🦾
Setting up Cypress 🤖
Cypress is a JavaScript End-to-End Testing that provides a nice framework to work with and it’s capable of emulating a browser that can interact with any website by using the browser APIs.
Even though this tool was built in mind of Testing you can use it as a Photographer, to make the Browser to take screenshots of your website and store them on your repository!
As this tool is not needed when the application is running in production, it’s always recommended installing it as a development dependency:
# npm
> npm install cypress --save-dev

# yarn
> yarn add cypress --dev
Then you have to create a file called cypress.json located at the root of your directory, providing the URL of your project:
{
  "baseUrl": "http://localhost:3000/",
  "screenshotsFolder": "screenshots"
}
DISCLAIMER: In case you provided a localhost route, you have to ensure that your development server is running in the background when Cypress is running.
Next, let’s add a simple health check that will navigate to the Home Page of the project and check if the local server is answering correctly. For that create a file called health.spec.js, located inside a folder called cypress/integration at the root folder of the repository:
// cypress/integration/health.spec.js

it('health test', () => {
  cy.visit('/');
});
After this you can finally execute Cypress by running:
> yarn cypress run

====================================================================

  (Run Starting)

  ┌────────────────────────────────────────────────────────────────────────────────────────────────┐
  │ Cypress:    5.4.0                                                                              │
  │ Browser:    Electron 85 (headless)                                                             │
  │ Specs:      1 found (health.spec.js)                                                           │
  └────────────────────────────────────────────────────────────────────────────────────────────────┘


────────────────────────────────────────────────────────────────────────────────────────────────────

  Running:  health.spec.js                                                                  (1 of 1)


  ✓ health test (293ms)

  1 passing (304ms)


  (Results)

  ┌────────────────────────────────────────────────────────────────────────────────────────────────┐
  │ Tests:        1                                                                                │
  │ Passing:      1                                                                                │
  │ Failing:      0                                                                                │
  │ Pending:      0                                                                                │
  │ Skipped:      0                                                                                │
  │ Screenshots:  0                                                                                │
  │ Video:        false                                                                            │
  │ Duration:     0 seconds                                                                        │
  │ Spec Ran:     health.spec.js                                                                   │
  └────────────────────────────────────────────────────────────────────────────────────────────────┘


====================================================================

  (Run Finished)


       Spec                                              Tests  Passing  Failing  Pending  Skipped
  ┌────────────────────────────────────────────────────────────────────────────────────────────────┐
  │ ✔  health.spec.js                           301ms        1        1        -        -        - │
  └────────────────────────────────────────────────────────────────────────────────────────────────┘
    ✔  All specs passed!                        301ms        1        1        -        -        -

✨  Done in 9.67s.
This command will create the folders of plugins and support inside the Cypress folder with some boilerplate inside, which will come in handy for the future steps.
Taking screenshots with Cypress 📸
Time to make Cypress take those screenshots! Let’s start by adding a new file inside integration called photographer.test.js, with some basic tests:
describe('Photographer', () => {
  beforeEach(() => {
    cy.viewport('macbook-15'); // Desktop viewport
  });

  // Taking screenshots by Sections
  it('Landing Section', () => {
    cy.visit('/');
    cy.get('#home').screenshot('Landing');
  });

  it('About Section', () => {
    cy.visit('/');
    cy.get('#about').scrollIntoView().screenshot('About');
  });

  // Taking screenshots of the whole page
  it('404 Page', () => {
    cy.visit('/');
    cy.get('#404').screenshot('404');
  });
});
The URL of the pages to visit and CSS selectors may change depending on your project, but the idea will remain the same:
- Visit a particular route of your application.
- Use a CSS selector to pick a section or grab all the content.
- Take a screenshot and save it using a descriptive name.
Once you are done with setting the routes and name of your section, run Cypress by executing yarn cypress run, and you will see a new folder called screenshots located at the root of your project with the screenshots taken by Cypress.
📦screenshots
 ┗ 📂photographer.test.js
   ┣ 🖼404.png
   ┣ 🖼About.png
   ┣ 🖼Landing.png
   ┣ 🖼Projects.png
   ┗ 🖼Writing.png
Be aware that Cypress will remove and recreate this folder on every run, so don’t worry if your images disappear between runs. Also, at this point you can remove the test health.spec.js, because it’s not needed anymore 👍
The last piece will be changing your documentation to point to the auto generated pictures instead of the manual. I recommend using a table because it provides a very clear interface for the readers to visualize the pictures. This is the one I used:
## Screenshot and Design 🖼
| Section | Screenshot |
| -------- | :--------------------------------------------------------: |
| Home |  |
| About me |  |
| Projects |  |
| Writing |  |
| 404 |  |
Automatizing the screenshot (now for real)
Up to this point, Cypress is taking the screenshots for me, but I still have the task to call it by running yarn cypress run, and also I have to make sure my development server is running at that time to generate valid screenshots.
To address the latter, I recommend using an npm package called start-server-and-test which does exactly what is says: start any server, wait for a specific port to be open, and finally run the test. It’s very useful in these situations 🙌
To install it, you can use either yarn or npm.
# npm
> npm install start-server-and-test --save-dev

# yarn
> yarn add start-server-and-test --dev
Then inside your package.json, you can add the following commands inside the scripts property:
{
  "scripts": {
    "test": "cypress run",
    "start": "react-scripts start",
    "take-screenshots": "start-server-and-test 3000"
  }
}
To test it, you can simply execute the take-screenshot command and you should be able to see something like:
➜  my-project git:(master) ✗ yarn take-screenshots
yarn run v1.22.5
$ start-server-and-test 3000
1: starting server using command "npm run start"
and when url "[ 'http://localhost:3000' ]" is responding with HTTP status code 200
running tests using command "npm run test"

...
Now I only need something that will call this command automatically for me and push it into my Repository. This is when GitHub Actions comes into the Game!
DISCLAIMER: you can use any Continuous Integration technology (Travis CI, Circle CI, etc.), but I find the implementation with Actions quite simple and straight forward.
To enable GitHub Actions, you have to create a new Workflow file located inside .github/workflows folder. You can name this file as you want, the only rule to follow is that it has to be a YAML file.
# .github/workflows/update-docs.yml

# Workflow name
name: Update Docs

# Run on every push to master
on:
  push:
    branches: master

jobs:
  # Job name
  update-readme:
    # Environment setup
    runs-on: ubuntu-latest

    # job
    steps:
      - name: Checkout repository
        uses: actions/checkout@v2
      - name: Setup Node
        uses: actions/setup-node@v1
      - name: Install dependencies
        run: yarn install --frozen-lockfile
      - name: Take screenshots
        run: yarn take-screenshots
      - name: Commit screenshots
        uses: stefanzweifel/git-auto-commit-action@v4
        with:
          commit_message: Update Screenshots
Something I like about the Workflows from GitHub Actions is how descriptive they are. It consists of:
- Name of the workflow, which serves as an identifier (
name). - When the Workflow will be triggered (
on). - What it will do once triggered (
jobs). Each Job has:- Unique identifier.
- On which environment it will run (
runs-on). - Set of steps to run scripts or call other Actions (
steps).
One of the best features of GitHub Actions is the ability to compose Actions. In the example from above, to commit the changes inside the screenshots I am using the git-auto-commit-action which will look at my changes and then perform a git commit -am "commit_message" into my repository.
Finally, to test if your Workflow is working you have to push your changes into your master branch. Here you can see a normal execution I run inside gatsby-starter-mate.
Taking it to the next level 🚀
In case you have noticed inside the photographer.test.js file, I had to type the name of my routes and the selectors that I wanted to use. But what if, I can also automate this too? 🤔
The first step will be to collect all the routes inside the application. This will change depending on the technology and routing you have picked. But from here you should produce a file called routes.json with the list of all the routes.
Next, you have to store this file inside the folder cypress/fixtures, so then Cypress can have access to it inside the photographer.test.js file:
describe('Dynamic Photographer', () => {
  const routes = require('../fixtures/routes.json');

  beforeEach(() => {
    cy.viewport('macbook-15'); // Desktop viewport
  });

  routes.forEach((route) => {
    it(`${route}`, () => {
      cy.visit('/');
      cy.get('#shared-section-id').screenshot(route);
    });
  });
});
Finally, you have to generate the table based on the routes.json file or from the generated images. In this case, I will do it from the file, but in both cases, the output should be the same.
// generate-docs-readme.js
const fs = require('fs');
const routes = require('./cypress/fixtures/routes.json');
const routeToTable = (route) =>
`| ${route} |  |`;
const content = [
'## Pages Screenshots',
'Dynamic screenshots based on the last version deployed.',
'| Page | Screenshot |',
'| --- | :---: |',
...routes.map(routeToTable),
];
fs.writeFileSync('photographer.md', content.join('\n'));
This idea can be improved in several ways:
- Expose specific CSS selectors depending on the screen, to have more accurate screenshots.
- Expose names of screens instead of treating them as routes.
- With the combination of the idea from above, your file
routes.jsoncan tell Cypress to take more than one picture from a Page.
Last Words
I had a ton of fun integrating these two tools and, I think the result it’s quite useful. I hope more people also found it appealing and decided to try it on their own projects to battle against out-dated documentation 😅
In this post, I nearly used all the potential from these two tools. I highly recommend passing by though their official documentation: Cypress Docs and GitHub Actions Docs. They provide much more functionality inside.
Thanks for reading and let’s keep building stuff together! 👷♂️